Table of Contents
Hello everyone, Welcome to my new article, where we will explore React Native CheckBox Component by creating a quiz app screen.
The concept is pretty simple and straightforward.
The Checkbox component is best used in Quiz apps, so to Demonstrate how it works, I think we should make one and explore from there.
So let’s get into it.
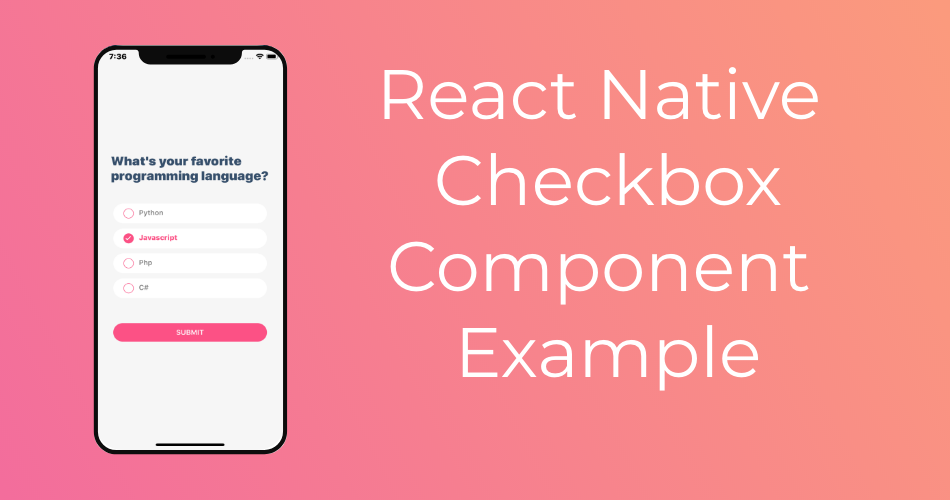
QUIZ App UI Concept
The example we are building will be pretty simple and clean.
Most of Quiz apps screens out there usually contain a heading text with the question of the quiz.
The list of potential answers selections, and a submit button.
So, This is what we will be building.

Environment Setup
To get started as usual create a new project using Expo or React Native Cli.
With both approaches, you will usually get a starting code like this.

import React from 'react';
import { StyleSheet, Text, View } from 'react-native';

export default class App extends React.Component {
  render(){
    return (
      <View style={styles.container}>
        <Text>Open up App.js to start working on your app!</Text>
      </View>
    );
  }
}

const styles = StyleSheet.create({
  container: {
    flex: 1,
    backgroundColor: '#fff',
    alignItems: 'center',
    justifyContent: 'center',
  },
});
We will also need to install native base, since we are going to use it’s Checkbox component.
To install native base, follow these instructions.
Install the package
npm install native-base --saveIf you are using React Native Cli, one more step is required
react-native linkNow we are ready to build our quiz app example.
Getting Started
Import the Checkbox component from native base
import {CheckBox} from "native-base"Also import the TouchableOpacity from React Native, since we have to add a submit button
import { StyleSheet, Text, View, TouchableOpacity } from 'react-native';Our initial state will just have a single property to hold the users’ answer
  state={
    selectedLang:0
  }
in the root view, we want to add a header Text at the top with a bold and clean color, for the quiz question.
<Text style={styles.header}>What's your favorite programming language?</Text>With the style below
  header:{
    fontSize:25,
    fontWeight:"bold",
    color:"#364f6b",
    marginBottom:40
  }
Checkbox Component
Now or the checkbox component part, we are going to have an item View to hold the checkbox and the text option.
We also want to make the text dynamic and changes color and thickness when its option is selected.
Plus the checkbox’s functionality update onPress and have a clean color.
To Achieve this, our code will look something similar to this.
<View style={styles.item} >
    <CheckBox checked={this.state.selectedLang===1} color="#fc5185" onPress={()=>this.setState({selectedLang:1})}/>
    <Text style={
      {...styles.checkBoxTxt,
        color:this.state.selectedLang===1?"#fc5185":"gray",
        fontWeight:this.state.selectedLang===1? "bold" :"normal"
      }}
      >Python</Text>
</View>
item:{
width:"80%",
backgroundColor:"#fff",
borderRadius:20,
padding:10,
marginBottom:10,
flexDirection:"row",
},
checkBoxTxt:{
marginLeft:20
},Add more checkbox items for each potential answer for the question.
in my case I will add 3 more.
And finally, a submit button with the same checkbox color and a simple submit text
<TouchableOpacity style={styles.submit}>
  <Text style={{color:"white"}}>SUBMIT</Text>
</TouchableOpacity>
submit:{
width:"80%",
backgroundColor:"#fc5185",
borderRadius:20,
padding:10,
alignItems:"center",
marginTop:40
}And there you have it a simple yet elegant React Native Checkbox Component Example, by building a Quiz app screen.
Final Result

I have prepared a github repository for the project and an expo project as well, feel free to use them at your will.
Recommended Articles
React Native Countdown Timer Example Using MomentJs
React Native Camera Expo Example
React Native Accessibilityinfo API
React Native Flatlist Example
React Native Screen Transitions
