Table of Contents
In This article we are going to explore how to apply blur effect in a react native app, By making a loading screen.
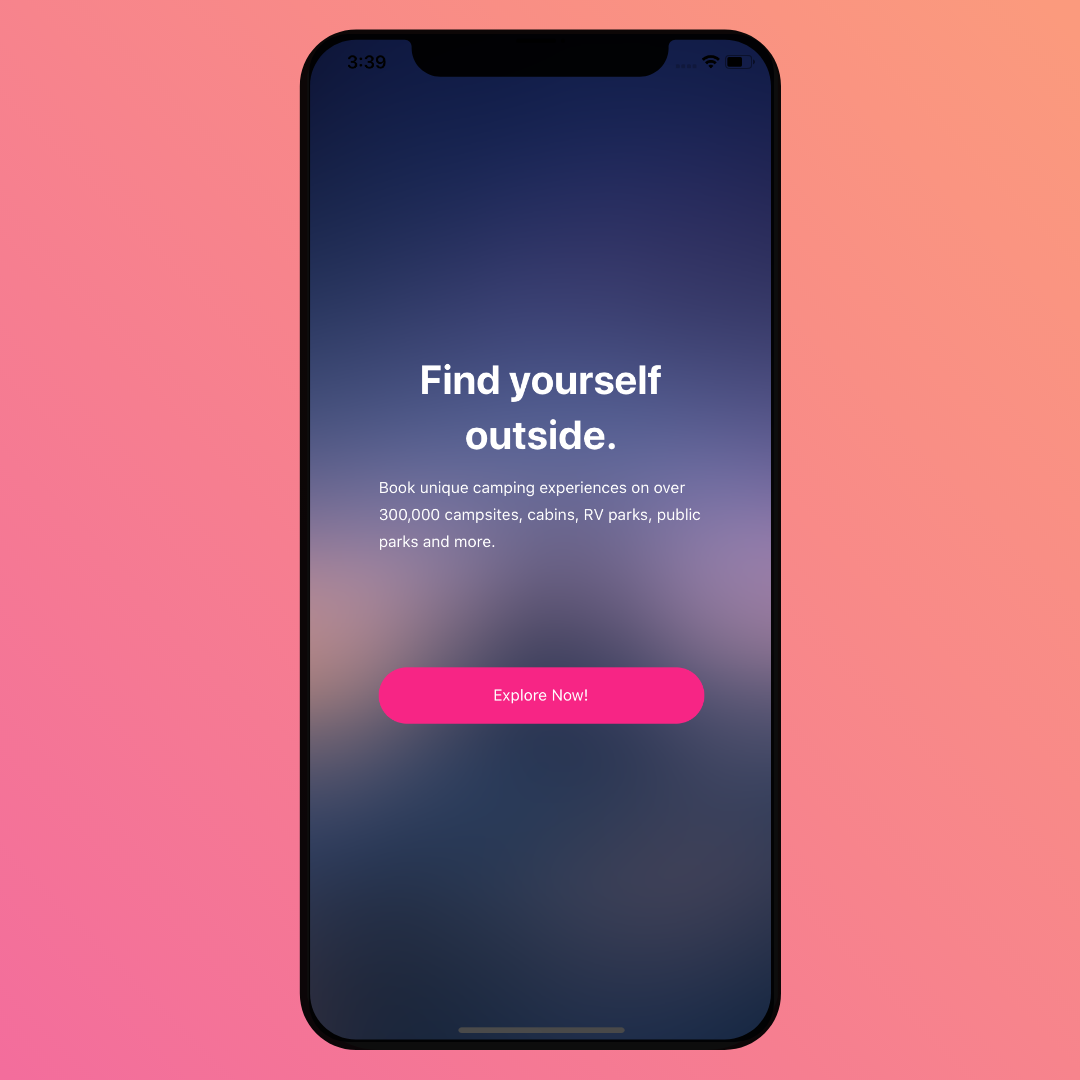
Our final result will look like this.

Introduction
This loading screen is the exact same one from my earlier article Camping App Project. I have decided to give it another style, by adding a blurry background.
You can see this effect mostly on loading / splash screens and sometimes in overlay image thumbnails. It adds an elegant color contrast between the background and content.
Especially if your app contains multiple colors.
Without further due, let’s get into it.
Loading Screen Setup
If you are starting your project from scratch you can either initialize it with Expo or React Native CLI. Either ways your starting point will look similar.
As Mentioned my loading screen is taking from my earlier project so I will just copy past the entire content from there.
import { StatusBar } from 'expo-status-bar';
import React from 'react';
import { StyleSheet, Text, TouchableOpacity, ImageBackground } from 'react-native';

export default function App() {
  return (
    <ImageBackground
      style={styles.container}
      source={{uri: 'Image URL'}}
    >
      <StatusBar style="auto" />

      <Text style={styles.title}>Find yourself  outside.</Text>
      <Text style={styles.body}>
        Book unique camping experiences on over 300,000 campsites, cabins, RV parks, public parks and more.
      </Text>
      <TouchableOpacity
          style={styles.exploreBtn}
        >
          <Text style={styles.exploreBtnTxt}>Explore Now!</Text>
      </TouchableOpacity>
    </ImageBackground>
  );
}

const styles = StyleSheet.create({
  container: {
    flex: 1,
    backgroundColor: '#3A0CA3',
    alignItems: 'center',
    justifyContent: 'center',
  },
  Image: {
    width:274,
    height:274
  },
  title:{
    fontSize:36,
    fontWeight:"bold",
    color:"white",
    width:"70%",
    textAlign:"center",
    marginBottom:10,
    lineHeight:49
  },
  body: {
    width:"70%",
    color:"white",
    fontSize:14,
    lineHeight:24
  },
  exploreBtn:{
    width:"70%",
    backgroundColor:'#F72585',
    height:50,
    borderRadius:25,
    justifyContent:"center",
    alignItems:"center",
    marginTop:100
  },
  exploreBtnTxt: {
    color:"white",
  }
});
The only thing difference is changing the root components from a normal view into an ImageBackground, which we will be applying the blur effect on.
Then go ahead and add any image you need to it.
Applying Blur
The way we will be adding blur to our image is via the blurRadius prop.
It’s pre attached to all Image based component in React Native, such as, Image, BackgroundImage…etc.
It takes a number value from 0 to 100, representing radius percentage, where 10 = 10% and 100 = 100%.
For our loading screen example I will use 90% blurRadius. But let’s see how different levels of blur look.


Now go ahead and add the BlurRadius of your liking to the root Background Image.
Result
Another Way To Add Blur In React Native
This blur technique as I Mentioned only works for Image components. How could we apply blur on an entire view with it’s content.
For that we could use this Library By React native community Library.

Conclusion
That was it for this article, we have created an elegant react native loading / splash screen using blur effect.
I hope you enjoyed reading my article and found it as informative as you have expected.
I have shared the code example on Github and Expo.Io if you would like to take a look, or use it in your own projects.
Stay safe and happy coding.
thank you sir