Table of Contents
Hello everyone, In this article we are going to explore how to make a React Native Activity Indicator.
Introduction
While developing your app, it’s very important to keep your users engaging, and constantly give them feedback on actions they make, wether it’s adding something to a list, deleting or simply waiting for something calculations finish.
In almost any app, there is some sort of loading actions, staring from the login screen, where the user is waiting for the credentials to be verified and given access, to waiting for the data to be retrieved from the database. And for that we have the Activity Indicator to use In React Native.
Which is nothing but a circular loading spinner, there are many other ways you could engage your users while they are waiting, or simply use the Activity Indicator that comes by default with React Native.
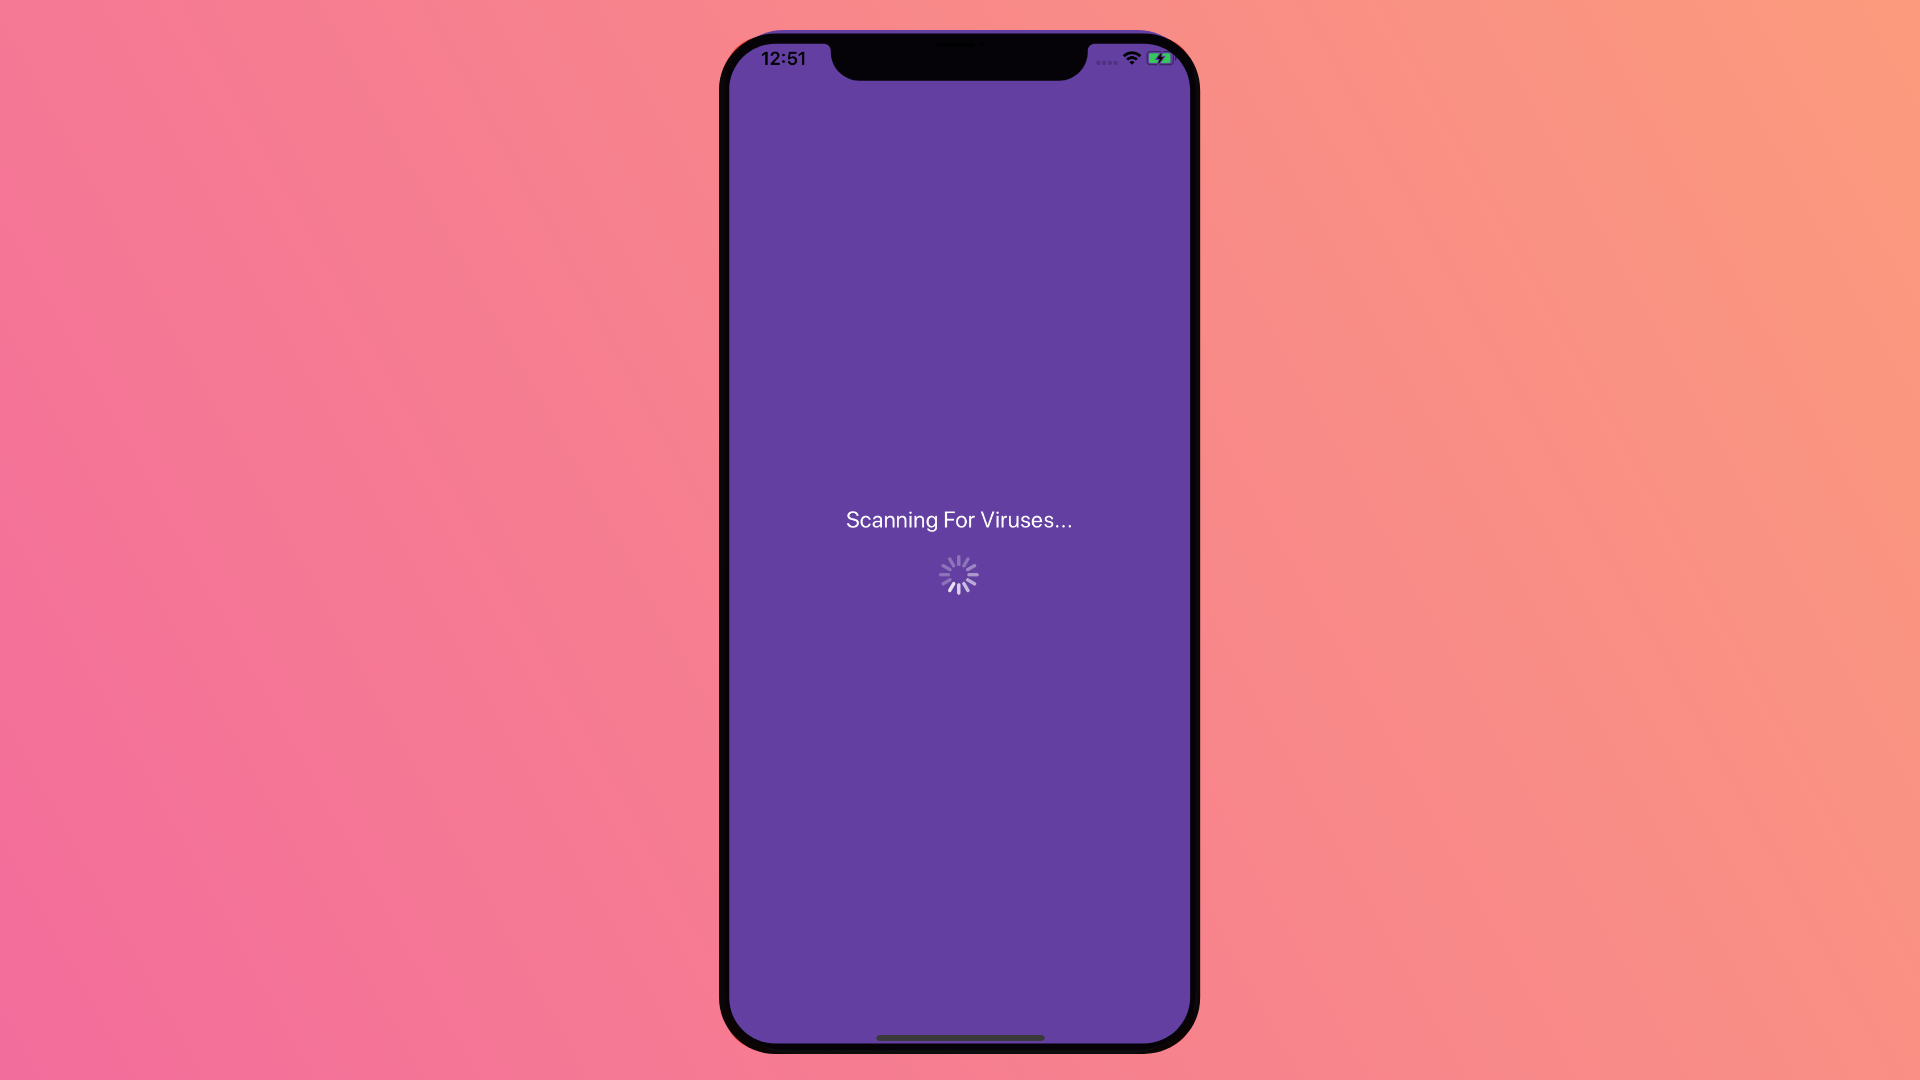
The Example we will try to build will look, something similar to this.

Notice: This example is run on an IOS Emulator, Android Activity Indicators, look different.
Environment Setup
To use The activity Indicator in your app, you won’t need something celestial, it comes out of the blue with react native, just import the component and your are set.
Activity Indicator Basic Usage
Using the Activity Indicator component is straight forward, all you need to do is import it and use it, it doesn’t require any props, but there are few you could use to style the way it looks.
<ActivityIndicator
  size = "large"
  color = "white"
/>
As you might have noticed, I am using 2 props, Color and Size, which describe itself.
We use the size to show how large we want our indicator to be, it takes two values, small and large.
As for the Color, you can add whatever color your want, either by its name or value e.g. #ffffff
Building The Loading Screen
To show a good use case of the Activity Indicator, we will try to build an example loading screen, simulating an antivirus app, exactly the part when it’s scanning for viruses.
We will keep it simple and use only two components, a Text and An ActivityIndicator, as follows.
import { StatusBar } from 'expo-status-bar';
import React from 'react';
import { StyleSheet, Text, View, ActivityIndicator } from 'react-native';

export default function App() {
  return (
    <View style={styles.container}>
      <Text style={styles.title}>Scanning For Viruses...</Text>
<ActivityIndicator
  size = "large"
  color = "white"
/>
      <StatusBar style="auto" />
    </View>
  );
}

const styles = StyleSheet.create({
  container: {
    flex: 1,
    backgroundColor: '#623FA0',
    alignItems: 'center',
    justifyContent: 'center',
  },
  title: {
    color: 'white',
    fontSize: 20,
    margin: 20
  }
});
Result
Conclusion
That was it for this article, we have made a quick React Native Activity Indicator to show it’s basic usage.
I hope you liked it and found it as informative as you have expected.
I have shared the code example on Github and Expo.Io if you would like to take a look, or use it in your own projects.
Stay safe and happy coding.
thank you sir