Table of Contents
Hello everyone, welcome to this new article, where we explore How to add and customize The React Native Notification Bar.
You can use the React Native StatusBar API to achieve this.
Back in React Native’s early days, it was only supporting Android.
But these days are gone, now you can add it to IOS as well.
You can use the statusBar as an API and manage the Notification Bar programmatically, or use it directly as a component and style it.
Let’s Get Started
I will create a new project using expo, but you can use it directly with React Native Cli, with no problem.
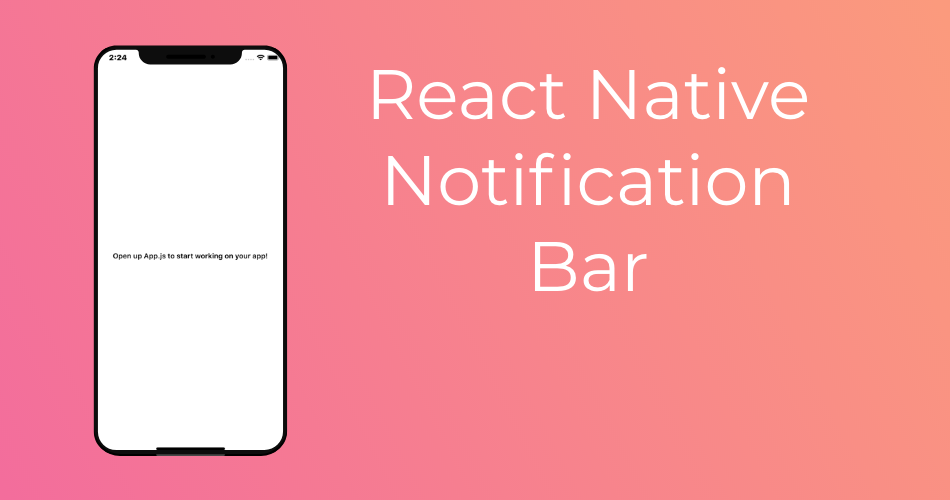
Anyhow, the starter screen and code will look something like this.

import React from 'react';
import { StyleSheet, Text, View } from 'react-native';

export default class App extends React.Component {
  render(){
    return (
      <View style={styles.container}>
        <Text>Open up App.js to start working on your app!</Text>
      </View>
    );
  }
}

const styles = StyleSheet.create({
  container: {
    flex: 1,
    backgroundColor: '#fff',
    alignItems: 'center',
    justifyContent: 'center',
  },
});
Import the statusBar and use it directly in your app inside your render method like this.
<StatusBar backgroundColor="blue" barStyle="light-content" />This is all the steps you need in order for the Notification Bar to show in your app,
but we can change the look and feel of it entirely.
So let’s explore the ways we can handle the React Native Notification Bar.
barStyle
Can be light-content, dark-content.
This prop is managing the styling of the Notification Bar,
Light-content has dark background, white icons and texts
Dark-content has light white background, dark icons and texts.
By default IOS uses the dark, and Android uses light, but you can change them if you want.
backgroundColor
Change the background color of the notification Bar to any given color you want.
Some of the modern apps uses a new style for every screen they have, and they change the notification bar color as well to match that.
You can use color names like red, blue or hex color like #000000
Notice that this prop is specific to android and you cannot change the background color on IOS.
translucent
When translucent is set to true, the app will draw under the status bar. This is useful when using a semi transparent status bar color
Hidden
You can set this prop to true to hide the notification bar from the screen, In case you want to have a fullscreen screen or activity.
In screens like Login or Signup screens
Manual Configuration
If you do not want to use the React Native StatusBar API, or you want to go beyond it and force changes to your Notification Bar.
You can achieve all this with a simple trick of adding an empty view with styles you want.
Add this style to your list of styles
  statusBar: {
    backgroundColor: "#C2185B",
    height: Constants.statusBarHeight,
  }
Install expo-constants using the command
expo install expo-constantsimport it into your app.
Then you can style the view as you like with out control from the API.
export default function App() {
  return (
    <View style={styles.container}>
      <View style={styles.statusBar} />
      <Text>Open up App.js to start working on your app!</Text>
    </View>
  );
}
There you have it, a total control over React Native Notification Bar.
Thank you for your time, take care.
Happy coding.